How to automatically backup any computer file to Google Drive
Automatically backup any computer file to Google Drive। Gigayt ।

One of the various services of Google is Google Drive. Which is an online based storage system. Where you can keep your important files safely for life. Hope it doesn't need much to say. You will be well aware of this. Still if one doesn't already know about this. Then he can find out about it with the help of Google search bar.
As it is an online based storage system. Where you can store any file up to 15 GB for free. They have here their automatic or automatic backup of any type of file. So you can avail this opportunity if you want. If you can backup your important files on your computer through automatic backup option. This will keep your files securely stored online and you can access them anywhere you want. So for this you need to perform some work first. No need to do it since then. Any files you modify from then on will be automatically backed up and updated. So let's see how to do it.
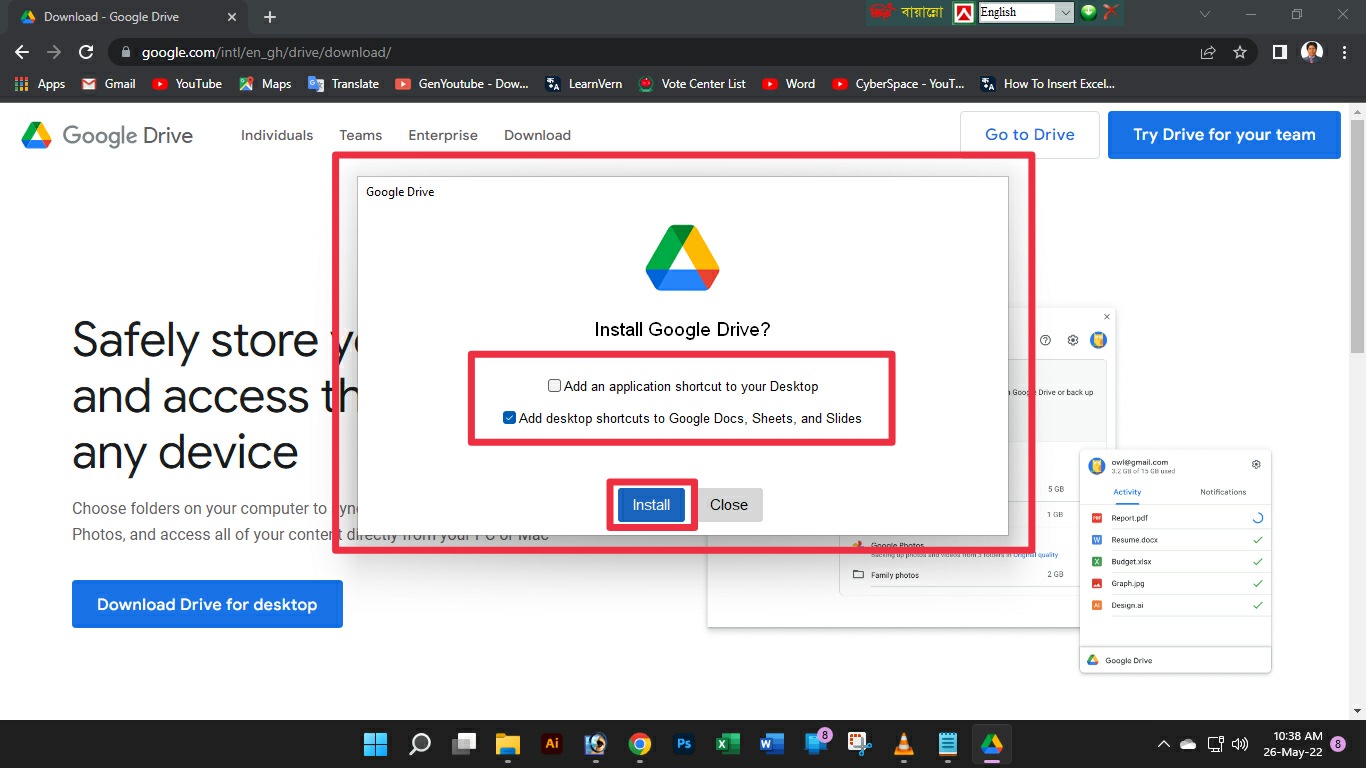
First of all, it goes without saying that you need a Gmail account to automatically back up your important files online. Be prepared with an ID if you already have a Gmail account or want to create a new one. Then click here to download the Google drive software for your computer. Once downloaded, click on the software to install it. Clicking will bring up the above screenshot. If you want to give a tick mark on the above two, you can give it otherwise click on the Install button by removing the tick mark.
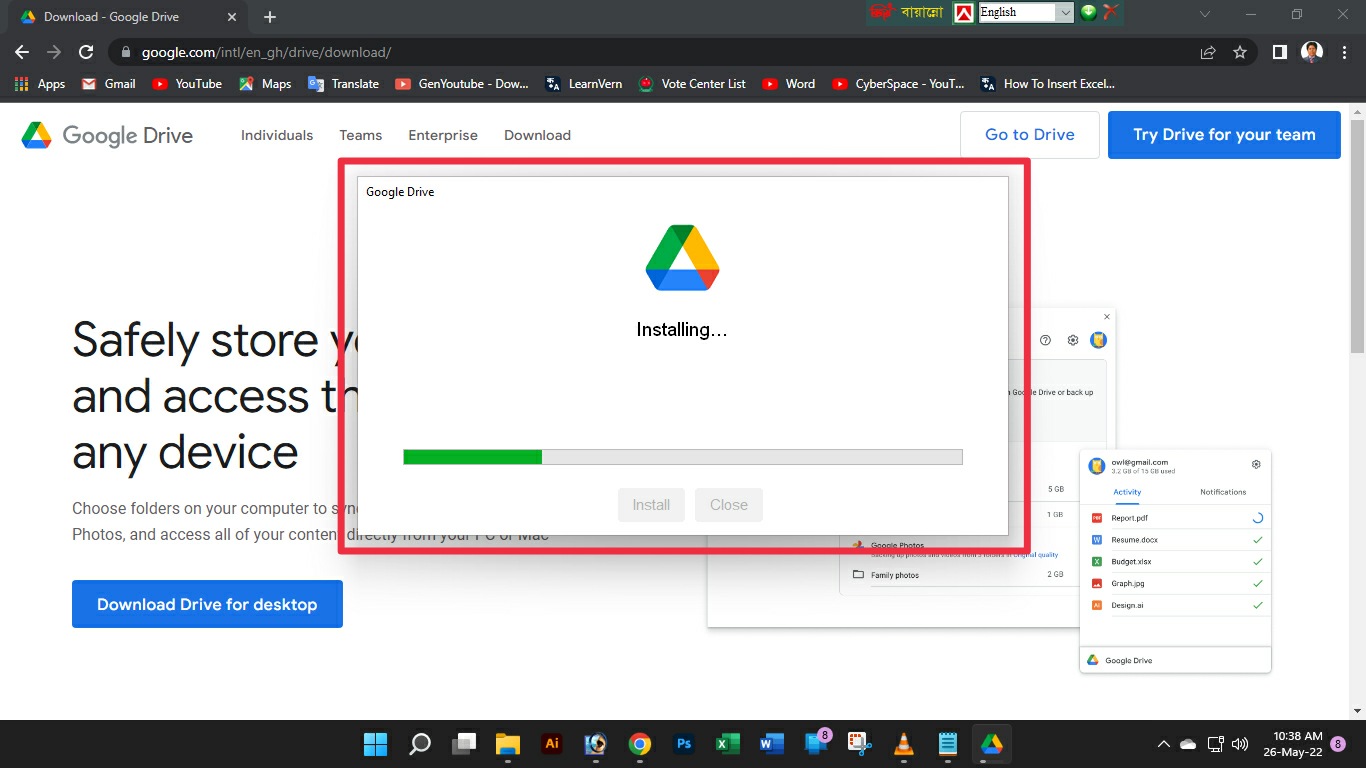
After clicking the button, the software will be installed on your PC as shown in the above screenshot.

Once the installation is complete, it will appear like the above screenshot, here you need to sign in your Gmail ID. Which basically requires you to enter the Gmail ID through your computer's default browser. So click on Sign in with browser button. (I told you to prepare Gmail ID beforehand, did you do that?)
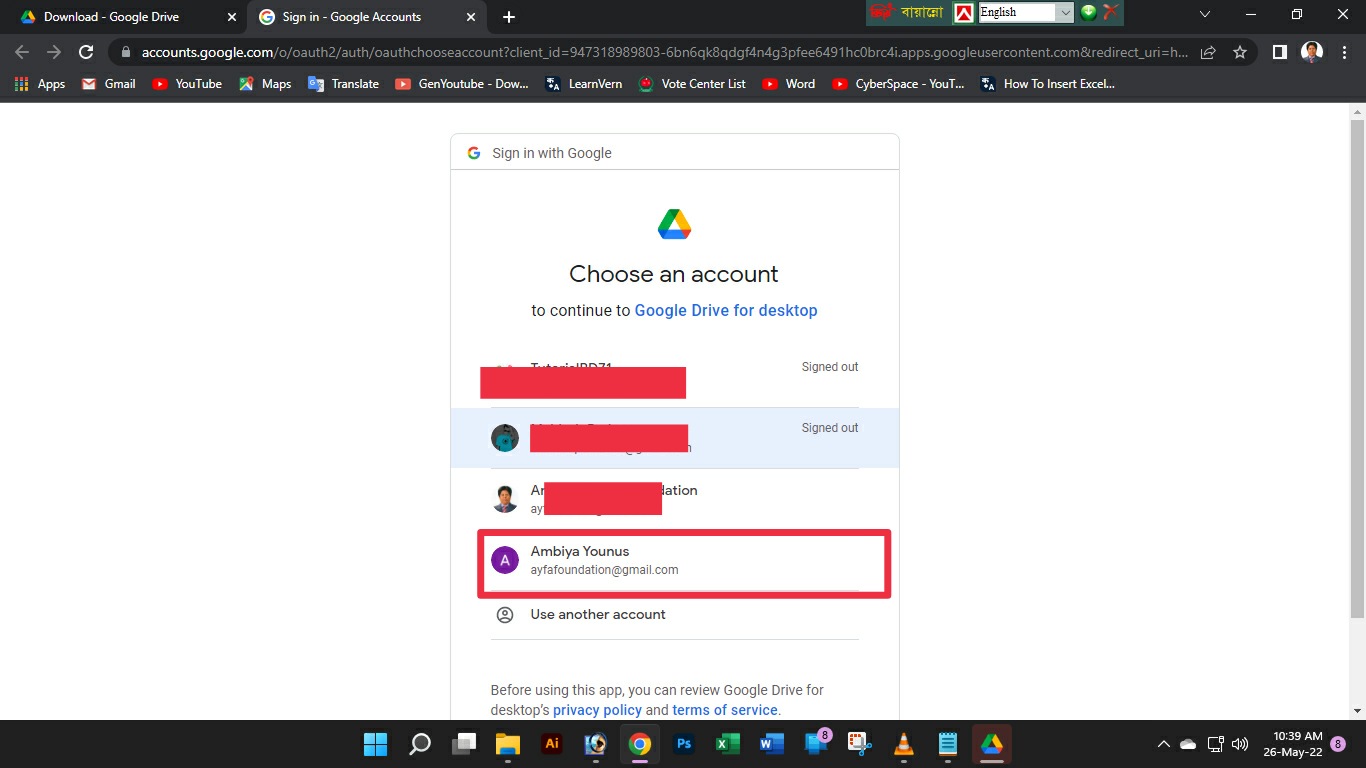
Then like above screenshot if your gmail id is already signed in your browser then it will look like this Click on your desired id from here. And if you are not signed in, then in the first option that appears, enter your ID name and in the next option, click on the login or sign in button with your password.

After selecting the ID or after signing in it will appear like the above screenshot. Here you have to click on Sign in button.

Then you will see a message that you have been successful as shown in the above screenshot will appear on your computer's browser screen.

You will then see a dialog box to add a new extension to your browser if you are currently in the browser. And it will show in your default browser. So you should try to keep Google Chrome as the default browser on your computer. Here you have to click on Enable Extension button.

After enabling or adding the extension, click on the arrow icon on the right side corner of your computer's taskbar like the screenshot above and right-click the Google Drive logo with the mouse cursor. Click it and you will see the Gmail ID you signed in with. Now here you need to click on Settings icon and click on Preferences text.
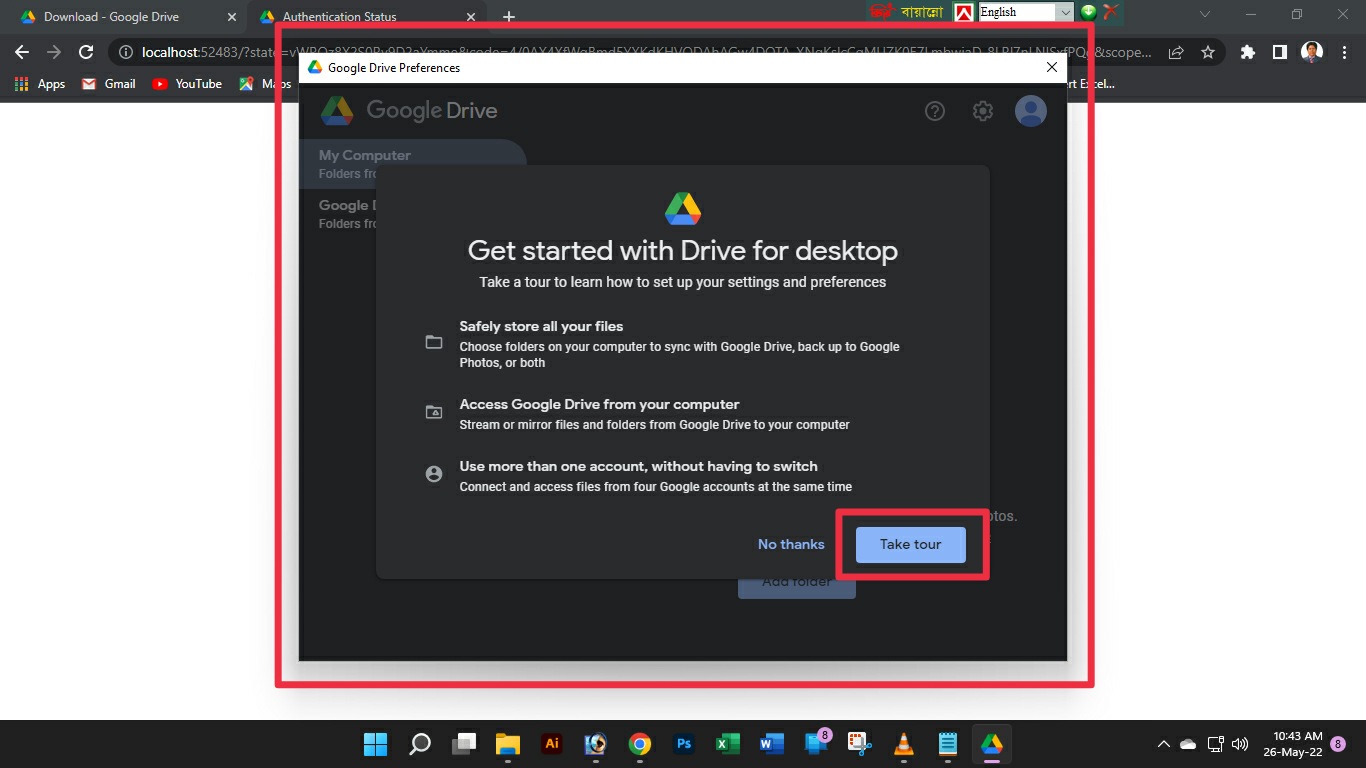
Then it will appear like above screenshot. Click on Take tour button here.
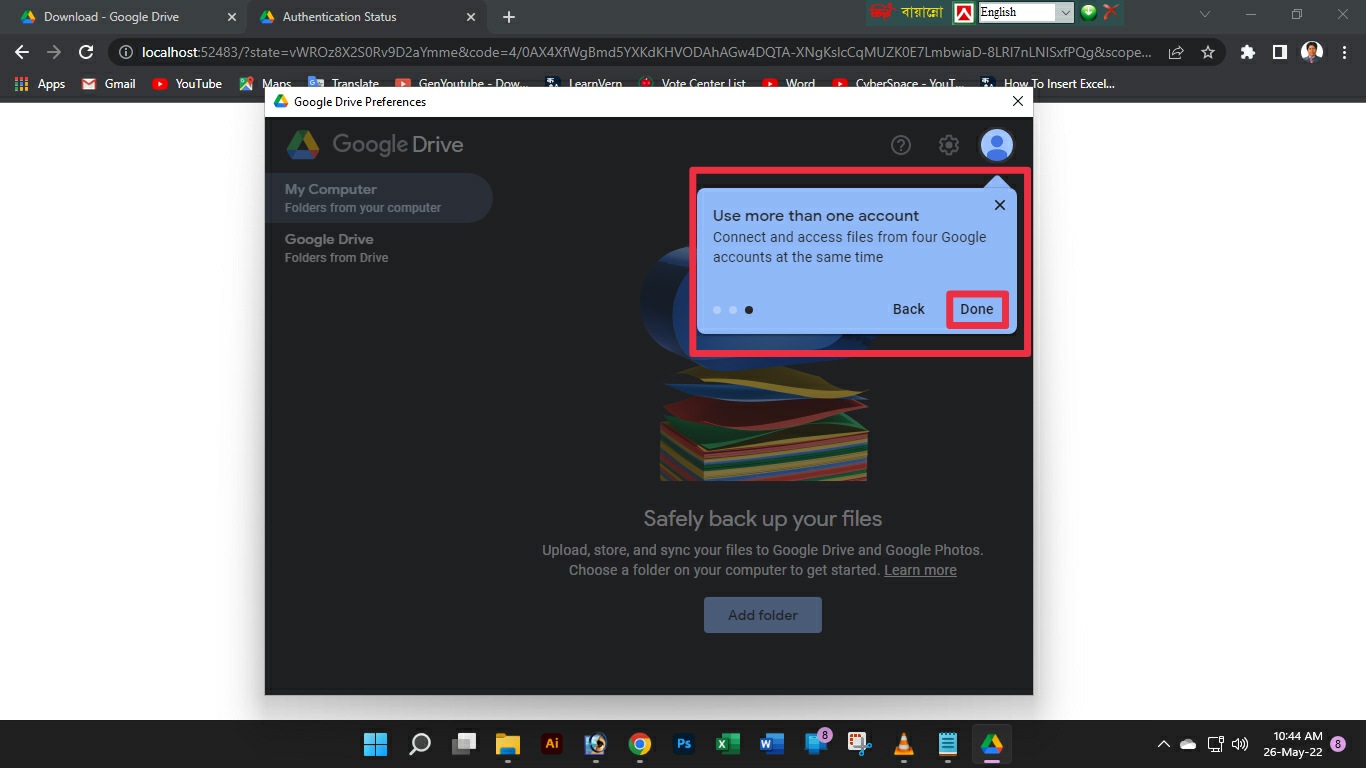
You will then be shown what to do with each of the three separate tutorial boxes shown in the screenshot above. Here click on Next button and finally click on Done button.
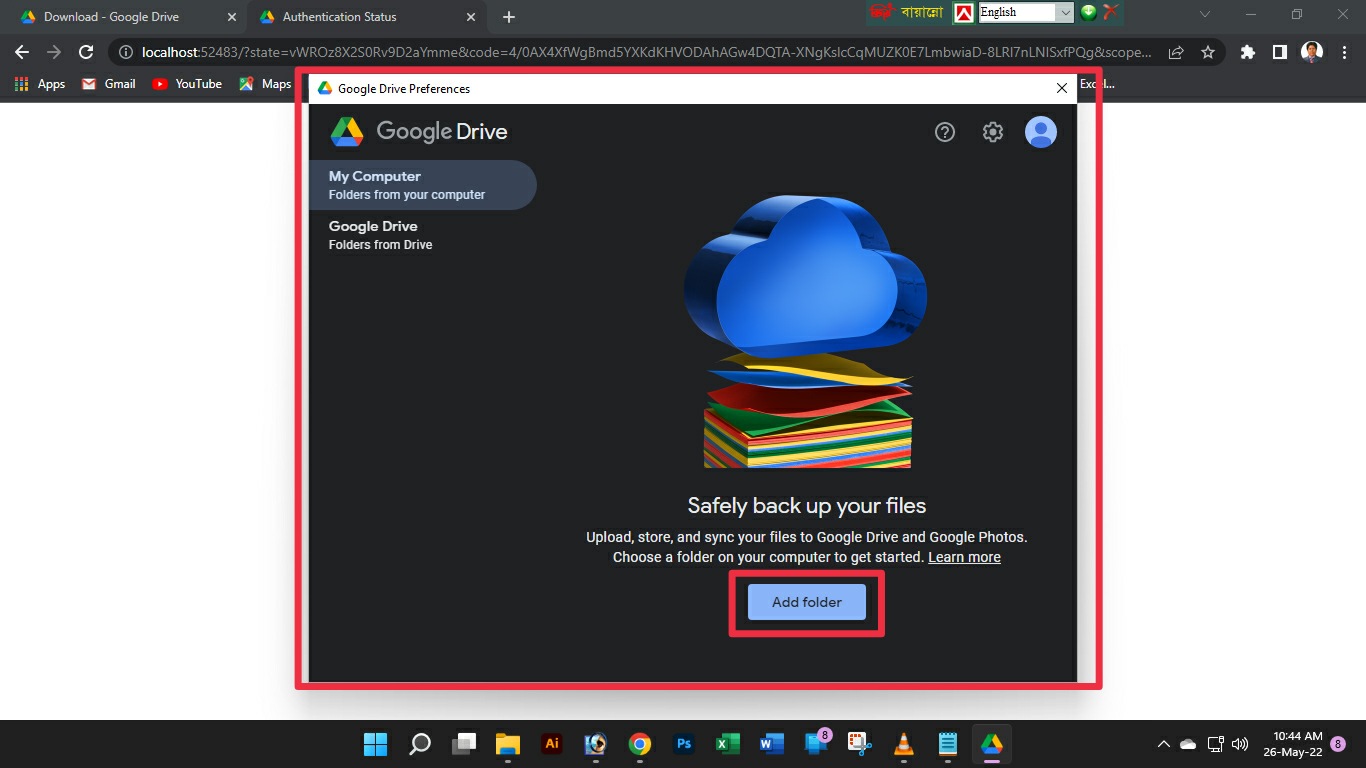
This is your real job. You have to select any folders on your computer that you want to automatically backup. So for this click on Add folder button like above screenshot.

Then go to the location of the drive on your computer where you want to select the folder. After going, let's say I select the Word Documents folder in my computer's Documents drive. That's why I selected it as in the above screenshot and clicked the Select Folder button.
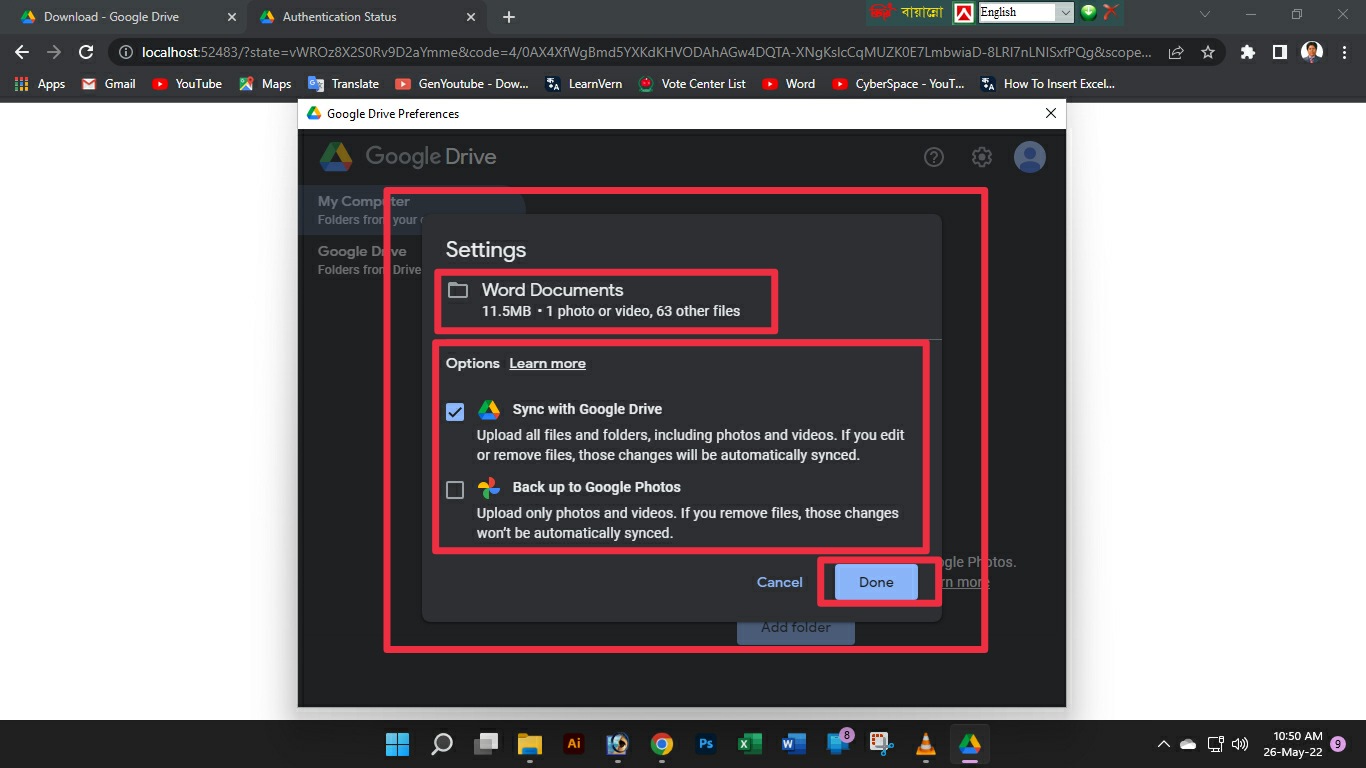
After clicking it will appear like above screenshot. I will leave it as it is here and click the Done button.

After clicking it will come exactly like above screenshot. From here, you have to select your desired folders one by one through the Add folder button. Then click on Save button.
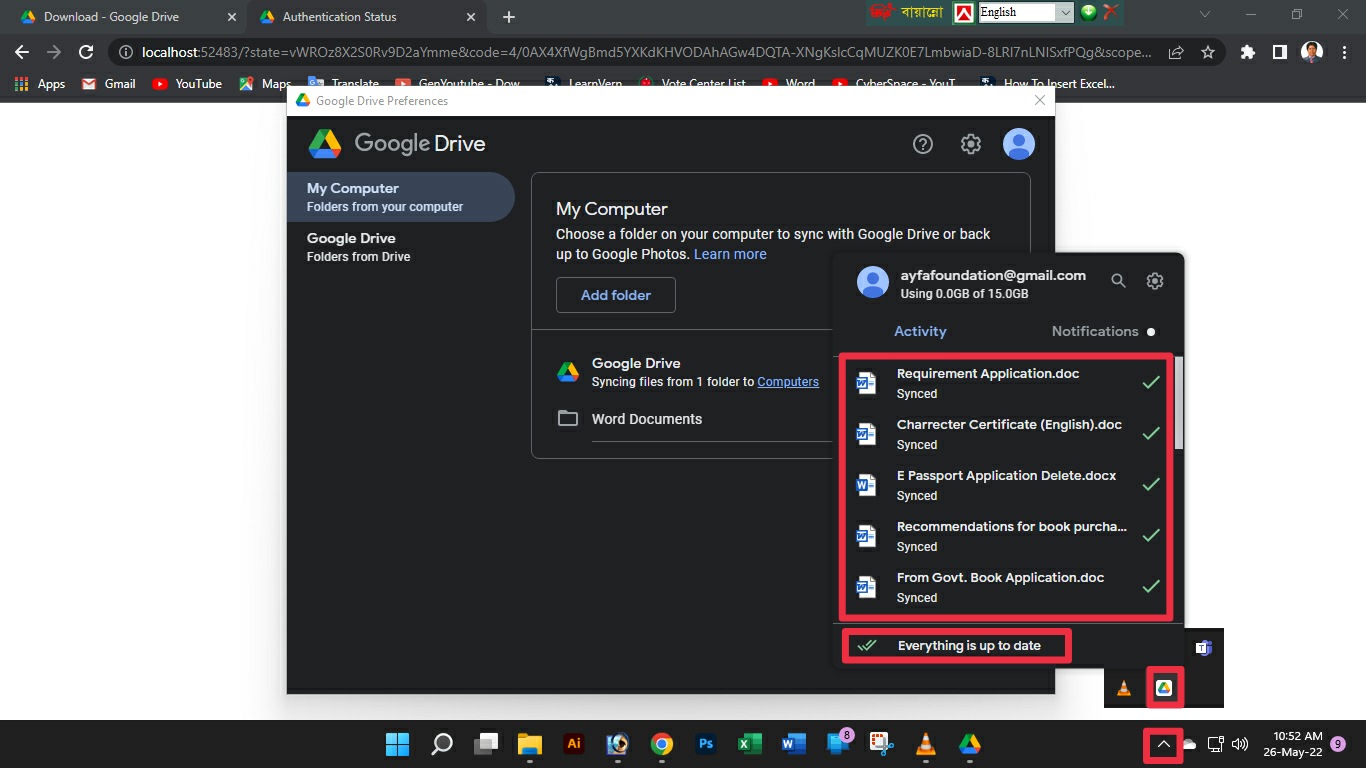
See the above screenshot by clicking the arrow button on the taskbar and right clicking on the Google Drive icon, the files of your selected folder are being uploaded or done.
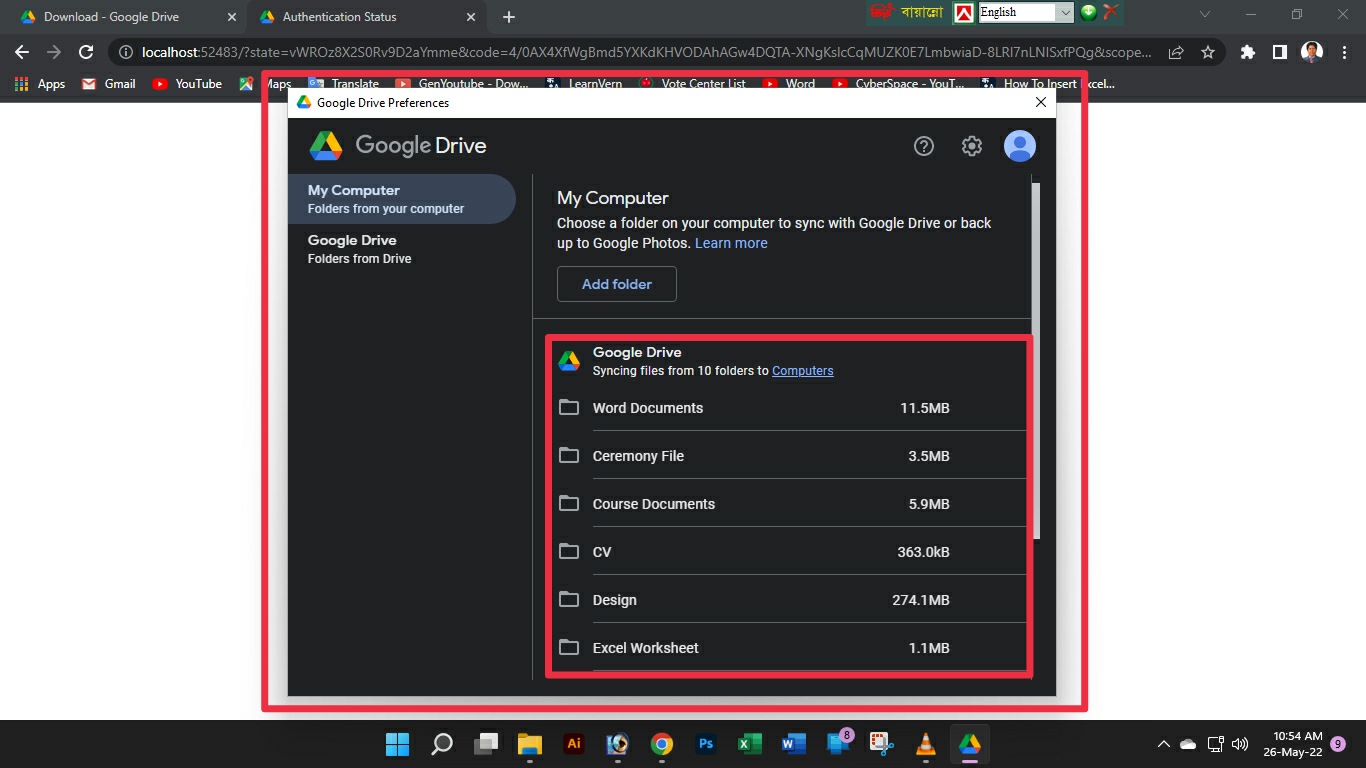
See above screenshot I have selected my required folders here.

To view your desired folder or files or to access them from any other device, you just need to open a browser, visit the Google Drive link, enter your Gmail ID, click on the Computers button and click on the My Computer button. Then you will see your automatically uploaded file or folder just like the screenshot above and can download and work.

After setting up Google Drive, go to This PC or File Explorer on your computer and in the drive section you can see a new drive called Google Drive along with your previously partitioned drives, just like the screenshot above.
So when you select a folder like this. Later, whether you modify any new or old file in it, it will be automatically updated immediately. For example, let's say you saved a previously saved application in a folder called Word Documents and it was automatically uploaded to Google Drive. Now you have modified or edited the application on your computer and saved it. Now that you have modified it, it will be automatically uploaded and updated to Google Drive as well. Also, if you bring or save a new file in the Word Documents folder, it will also be uploaded automatically.
I talked a lot. I hope you have no difficulty in understanding the content of today's post. If you liked the post and found it useful, please comment.